Deathscythe Hell WIP 5

Prime time! I have all the parts primed and they're drying as I type this. I have some cleanup to do before I paint, but it's not much. I did all the priming in 1 setting and it took 2 hours, 5 airbrush refills and I had to clean the tip of my airbrush several times. Primer is thicker than paint, and it clumps in the nozzle causing it to gunk up and spatter. To counter this, I clean the nozzle with a cotton swab soaked in thinner every time I refill the cup. Because I shot so much this session, I had to take the nozzle off and clean the top of the needle about half way through. You can also thin the primer to avoid it clogging, but I like how Alclad performs straight out of the bottle, so I don't thin.
Ok, onto some pics!

Here is one of the shoulders, after gluing it to remove the seam line.

This is the same same part after sanding the glue down. Ta da! The seam lines are all gone, and the pieces are glued together permanently now.

After filing the top of he head down way too much, I used putty to repair it. It came out pretty good. I think this is my best putty work to date (I've only been using putty for a few months)! I used a 1 mm chisel to carve out the center to restore the recessed area where the camera is on the Gundam.

After trying 12 different combinations of red I chose these 2. The one on the left is Alclad 2 black primer/microfiller, Mr Metallic White Silver (#GX213), and Alclad 2 Candy Ruby Red. The spoon on the right is the same except instead of the candy red, it's Mr Color clear red. I LOVE how these look and compliment each other!

Here is a part that's completely painted with the candy ruby red. AAAAAGH ITS SO GOOD! I'll be painting some of the armor this color, and the huge wings will be this color with small accents and metal mesh. Mmm, so good!

All parts (except wings and frame) scuffed, washed and ready for primer!
All parts primed! I used black for all but a few parts.

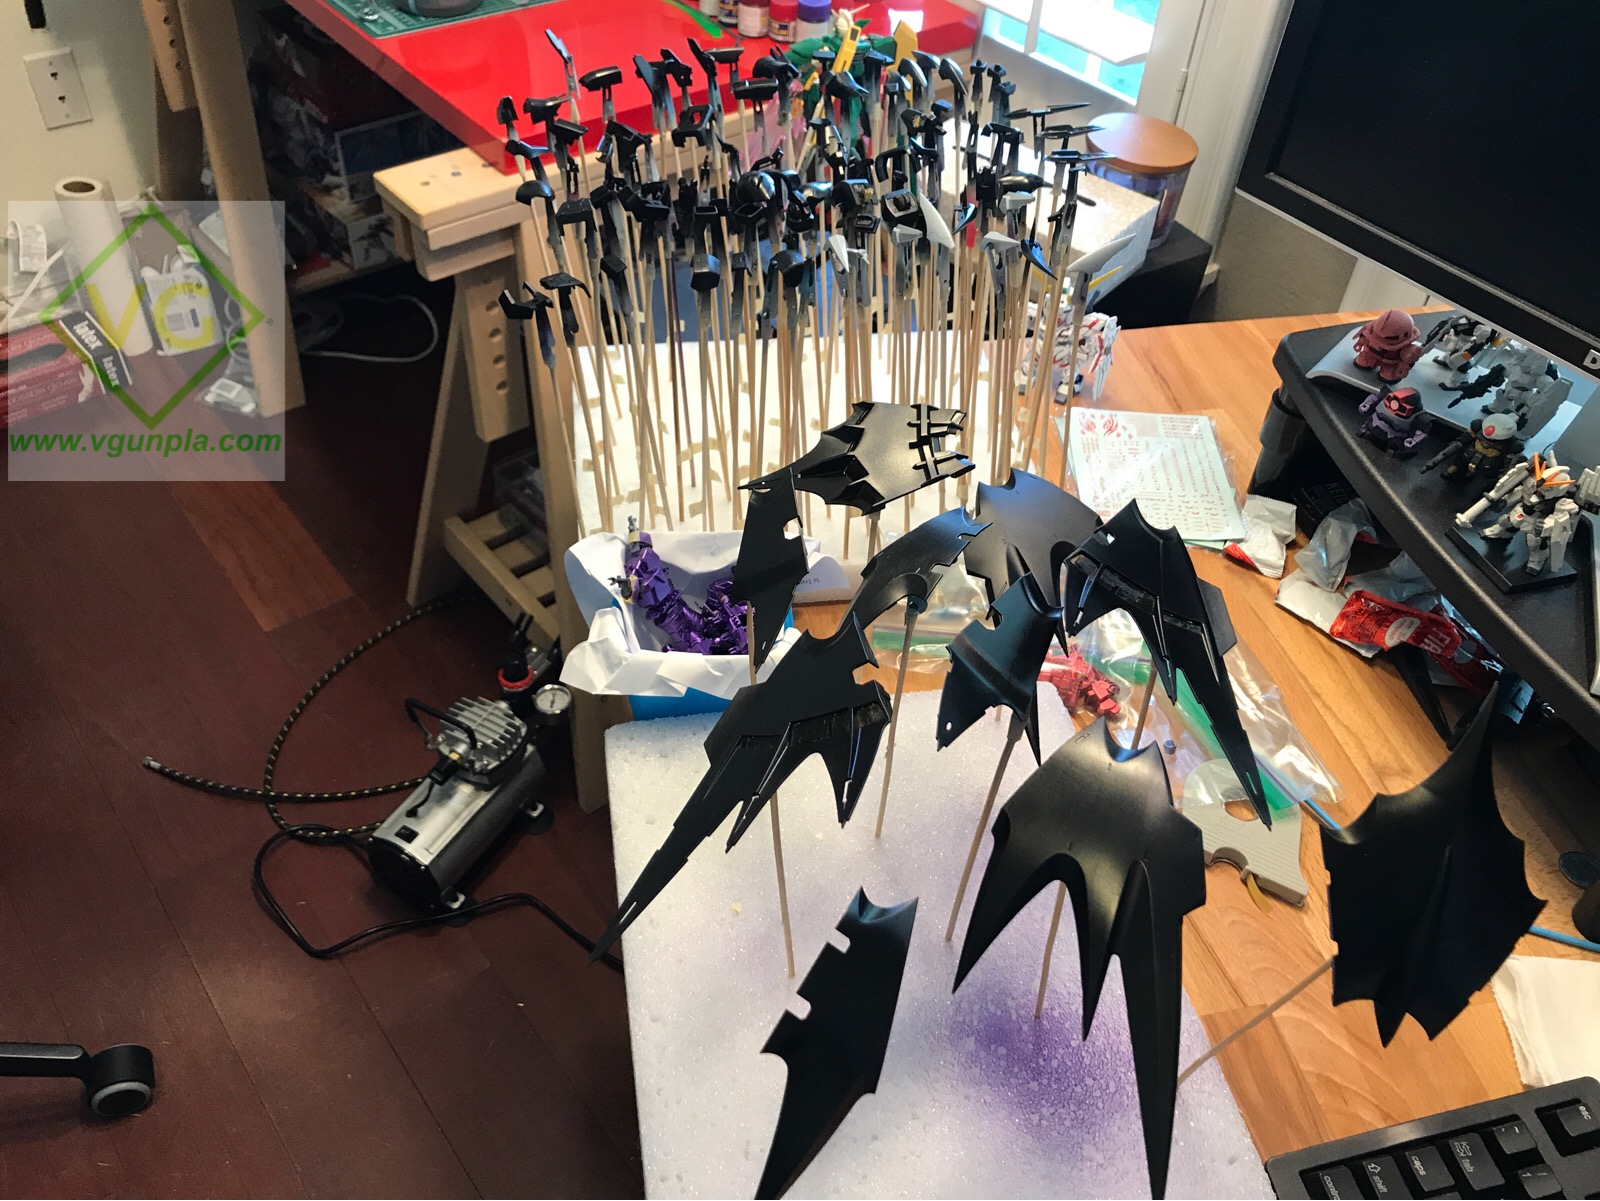
Metal parts masked, wings primed, I can almost see the finish line!

Looks like I have a bit of cleanup to do on the seam lines I removed. A little sanding, maybe a bit of putty then more primer and it'll be all set.
That's all for now. GBWC is in a couple weeks (June 10 at A-Kon here in Dallas/Fort Worth). I can't wait to see how my kit turns out, and also see what everyone else has been working on.
Special shout out to my dog Sophie, who stared and whined at me for 2 hours today while I painted. She got a good play session when I was done :)

Until next time, keep building!