MG Psycho Zaku

I’ve had this kit in my backlog for almost a year and it’s great to finally get to it. I really want to do it justice because it looks amazing just snapped together. So far I have 2 modifications planned for it, and I’m also planning to paint and detail it as well.
The first mod is a pattern on the shield. I like the orange color and wanted more of it on the kit. I also like stripes on sneakers, like Puma or Onitsuka Tigers and I think something along those lines but more angular would look great on the shield. The second mod is the biggest scratch build I’ve tackled to date: 8 open hatches on the big fuel tank! There is a lot of empty space between the fuel tanks on the back of the kit and I want to fill that space a bit. I mocked it up and I think it will add a lot of dynamic lines to the static looking fuel tanks which make up half the mass of this kit.
Onto the pics!
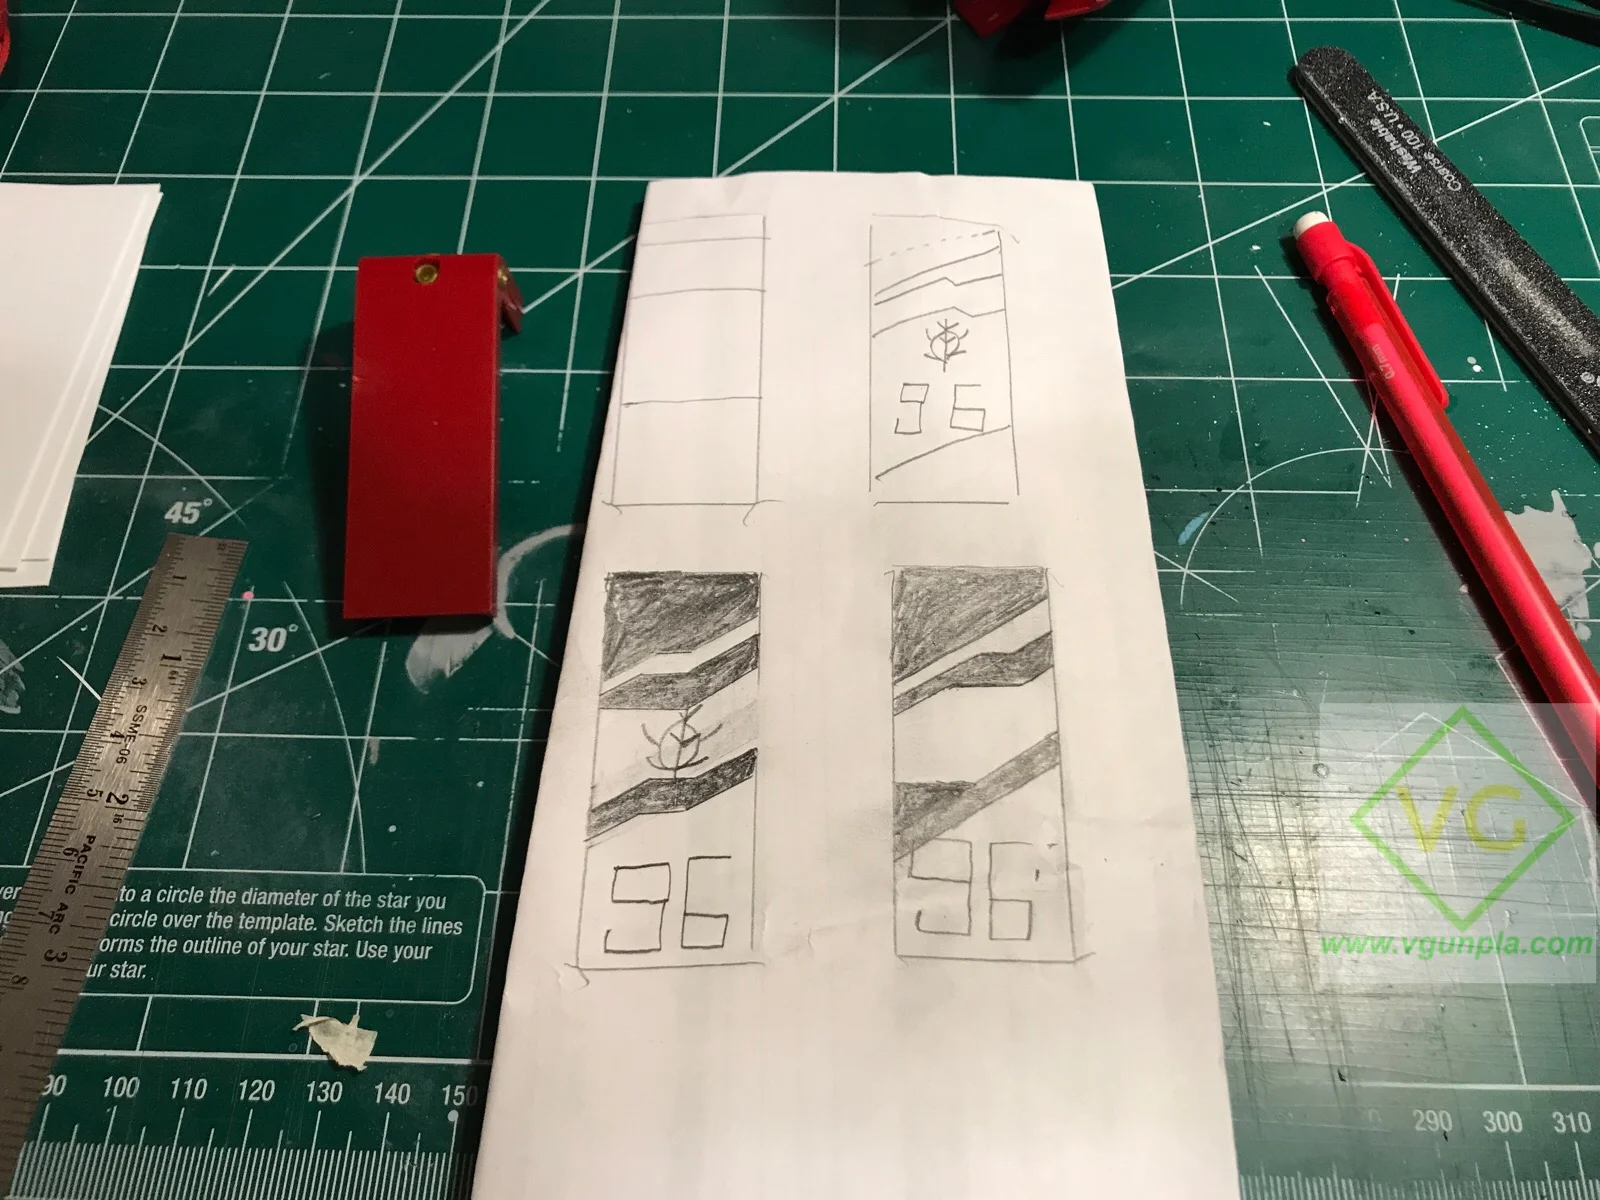
A few designs for the shield I’m considering. This would be done with masking.

I mocked up what the hatches will look like to see how well they fill the space. Not bad!

I like the staggered look of having 2 different lengths of hatches


I was planning on bending pla plate, but found these perfectly shaped tubes at a craft store.

These 4 pieces took 2 hours to cut out and shape!

I want the hatches to be articulated and able to open and close. I thought about doing a hinge at the back with pistons in front, but that would limit the movement and wouldn’t look right on the model. After looking at the arms on a few other kits I came up with this design. The center piece and attaching beams have open holes that snap onto a small rod, I then put small spacers on the beams to give them more structural stability and a better aesthetic.

My scratch built arm has a lot of range! For the final product I’ll trim it up and make everything nice and flush.


I glued it to a piece of pla plate to see how it would look and I love the results!

This is about where it would be on the fuel tank. Next steps are to finalize the design and lengths of the arms, cut holes in the fuel tank for them and attach them. I want the attachments on both ends to be articulate also, so I’ll be looking through my stash of poly caps to figure that out.

This is how it will look when it’s lying flat. The plan is to have the arm sitting inside the fuel tank when flat.

That’s all for now. My last post was about the Kimaris Vidar, but I ended up putting that on indefinite hold; I may write about why I made that decision at some point but the short version is I just didn’t like it. Moving on to this kit was a good decision and I’m excited to see where it takes me!
Until next time, keep building!