Qubeley WIP 4
This paint job seemed daunting at first but once I got into it, it wasn't nearly as hard as I thought. The toughest part was getting the white "stars" just right. I had to redo some areas, but in the end it worked out. Check it out!

I started with the base color of blue (Mr Color GX Susie Blue) and then sprayed some lines with pink. I got some over spray, but that's ok because the next color is black and it will cover the overspray.

Some pieces were light and thin lines, and others were thicker and heavier to give the look more variance.


The next step was to spray black through cotton to get the cloudy effect. I did this by taking poly cotton (can be found at any craft store, it is usially used to stuff pillows) and pulling it apart a bit. I experimented and got the best results by pulling it to a few different consistencies so it was thin in some parts, and even thinner in others. This pic is about as thick as you want it, any more dense and the paint won't go through enough.

After black was sprayed, I created a star effect by blowing dry air through a paint brush loaded with white paint. This proved more tricky than I thought and it took a lot of practice to get the distance from the part and the amount of paint in the brush just right. I found that the further away I held the paint brush, the better the effect was because when you get too close the dots get bigger.

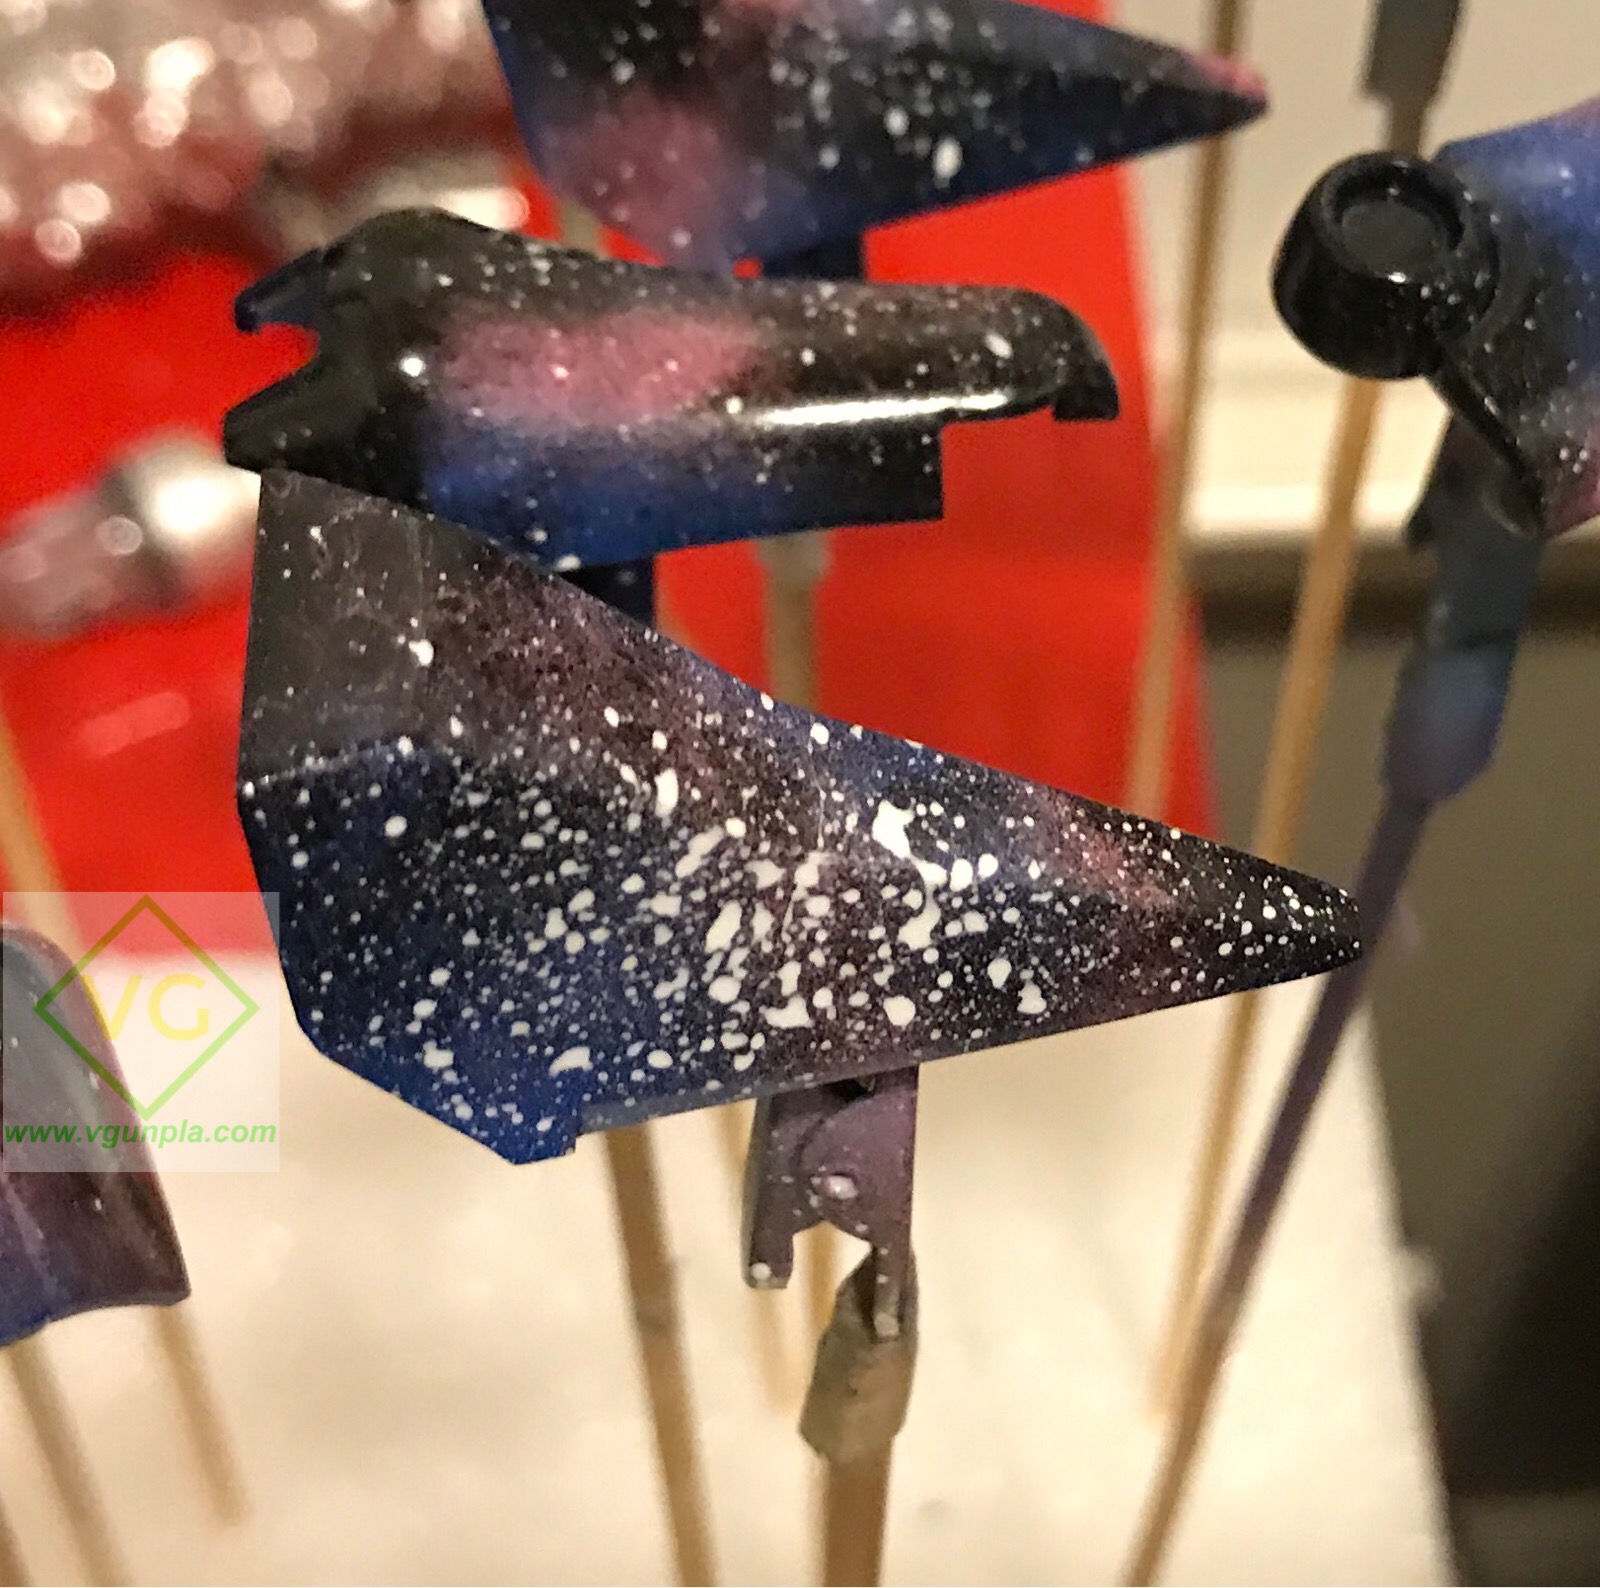
When I was done there were some areas that were way too dense with white, like this part. I stepped away from the kit and came back the next morning and that gave me a lot of clarity. I was better able to focus on the pieces that needed work.

All the pieces I repainted only had sections that looked bad, so I only redid those sections.

This is part of the foot that had 2 sides redone. You can see I left the right side as is, and redid the top and left. I was able to do this because this pattern has a lot of layers and blending.
That's it for now. I just took some pics of the final product and I'll be posting them later today. I also made a custom base out of a shadow box, cotton, LEDs and a custom name tag. I ended up winning Best Color Swap at the Texas Gundam Club Grand Prix!
Until next time, keep building!