RX 78 Assault

This is the project I mentioned a few months ago that I kept under wraps. I made 2 custom RX 78-2 Revives for my brothers in-law. For this first post I'll show WIP pics for the RX 78-2 Assault. Enjoy!

I wanted to beef up the shoulders, so I started with plastic plates for the front and back. I was surprised at just how difficult it was to cut 4 identical pieces of pla plate! I didn't get it perfect, but close enough to look good when the pieces are on the shoulders.

I drilled holes for detail, and filed the edges to give them a beveled edge look.

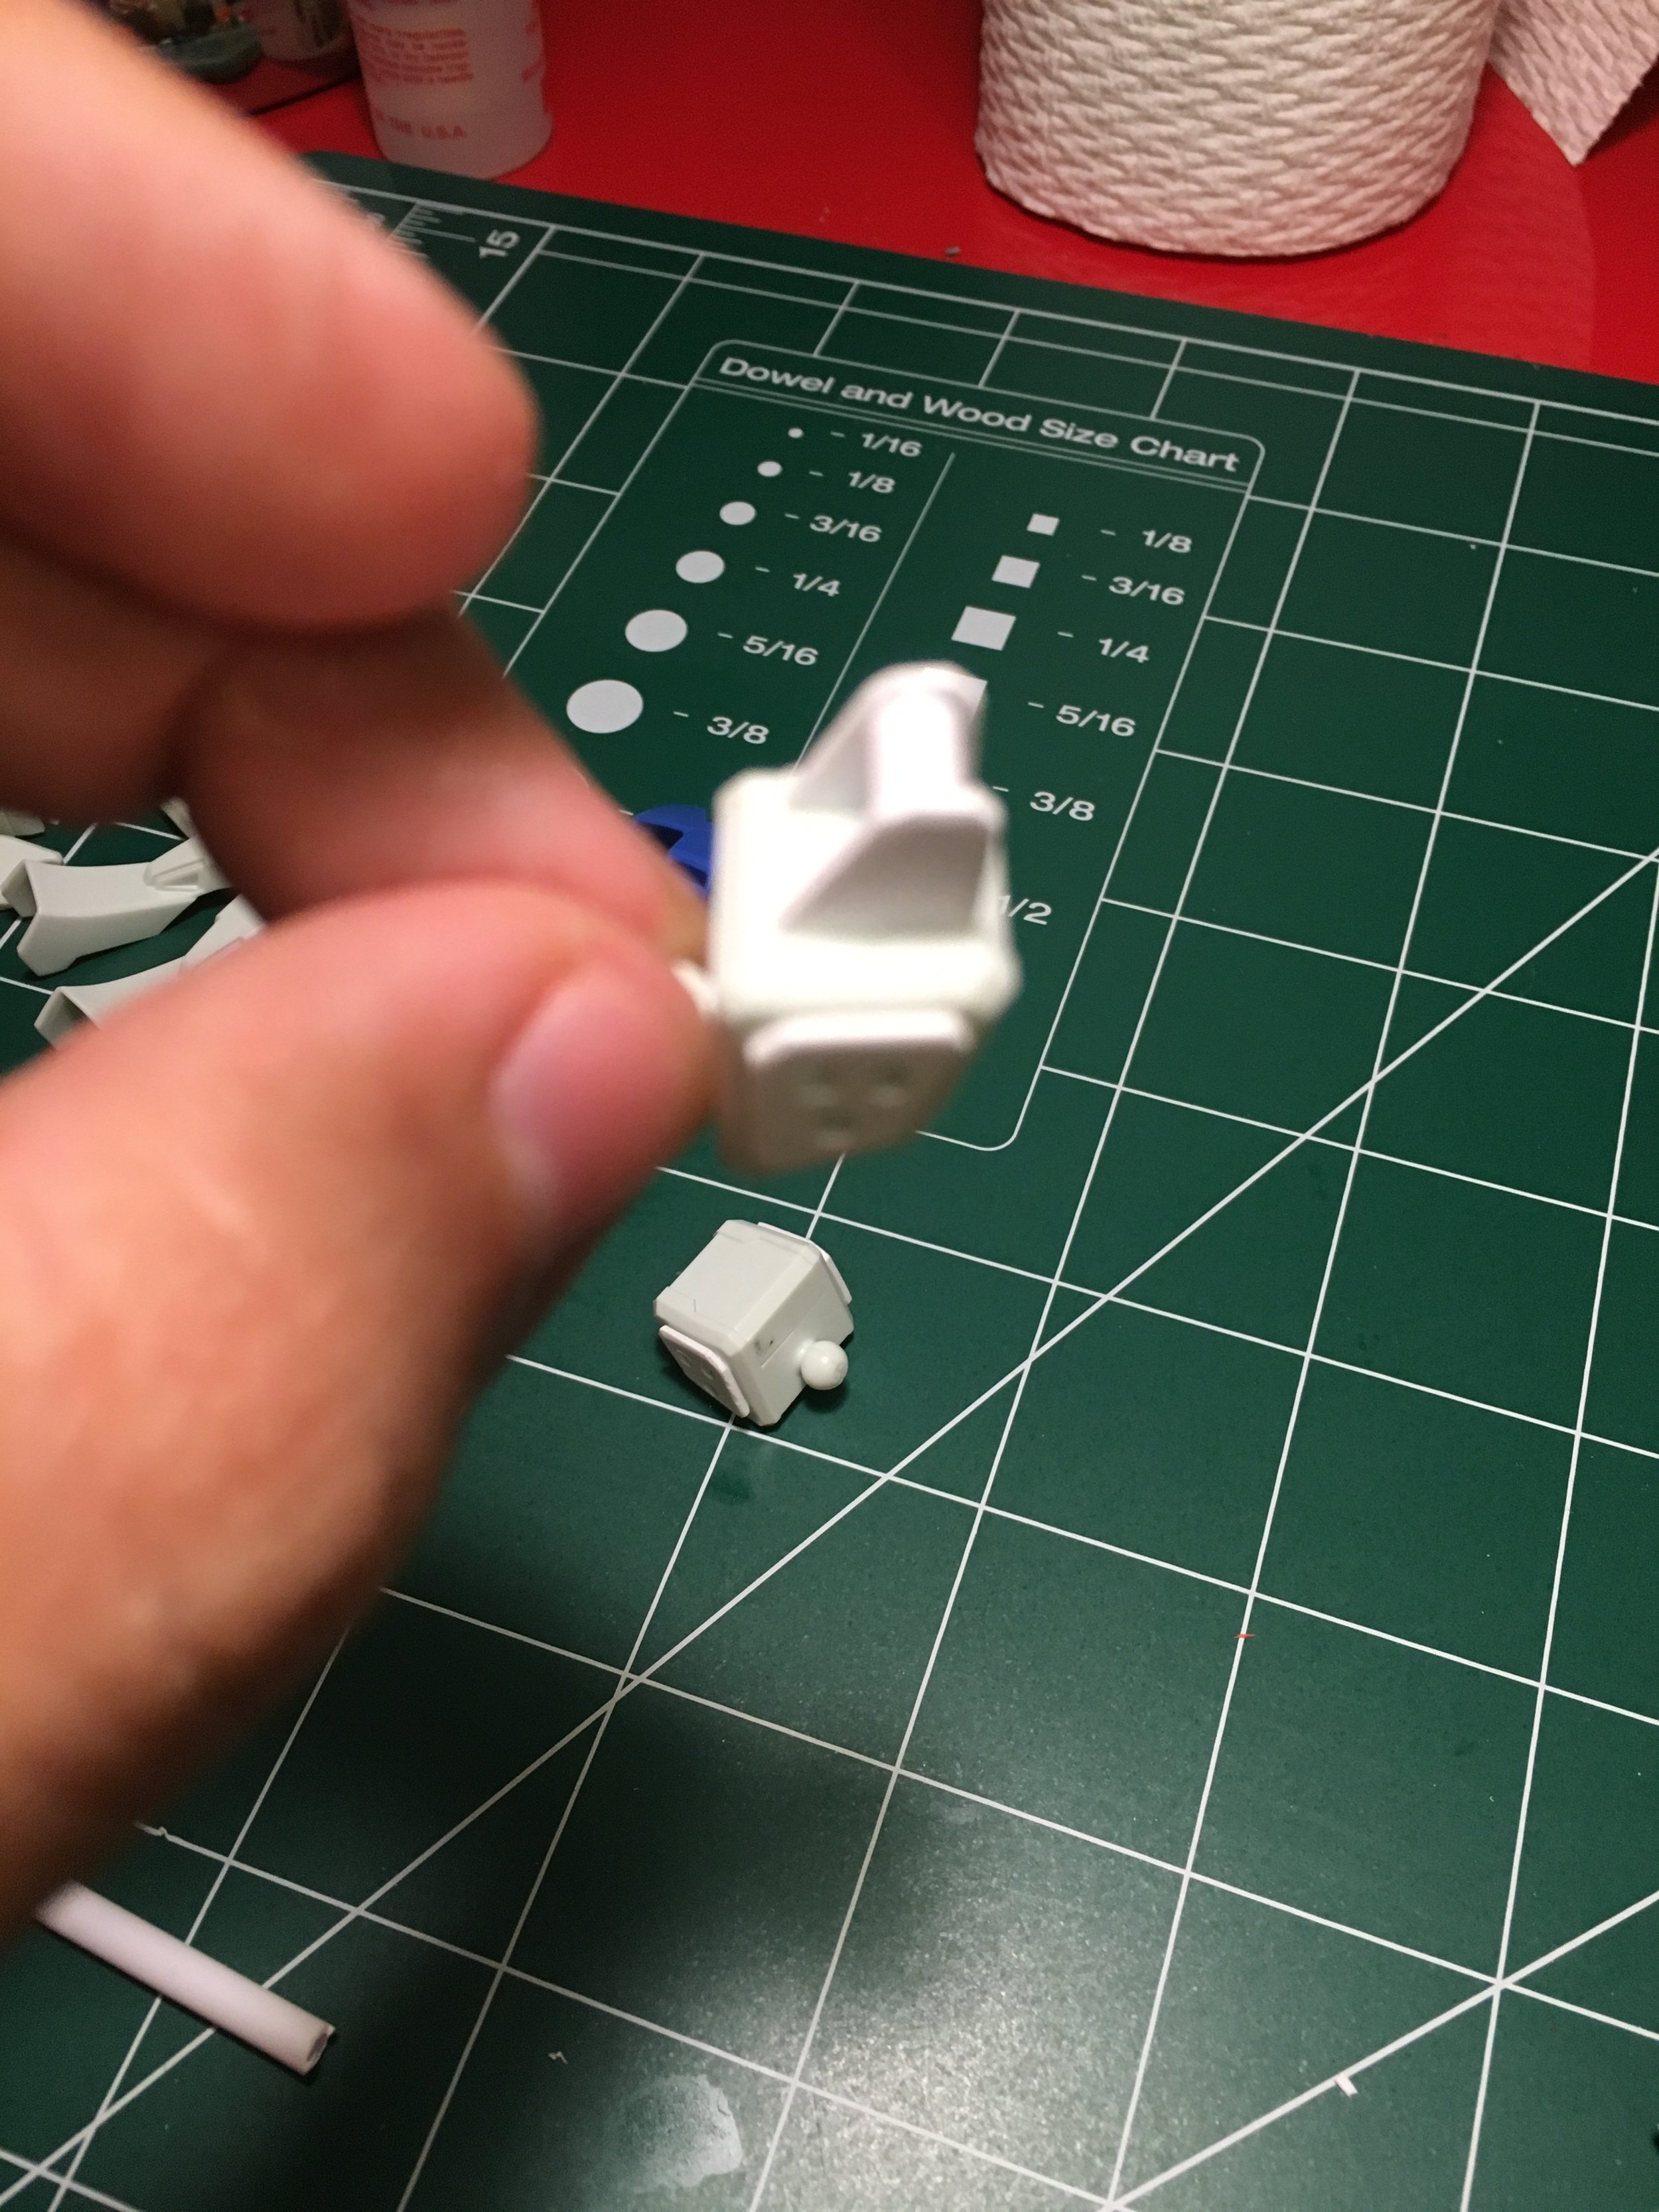
I liked the look of handles on the shoulders, so I built some using tubing and pla plate. Looking back, it would have been much easier to take parts from the Ground Type. I like how large these are though. It would give more practical protection to the head of the Gundam too.
This shoulder is looking good!
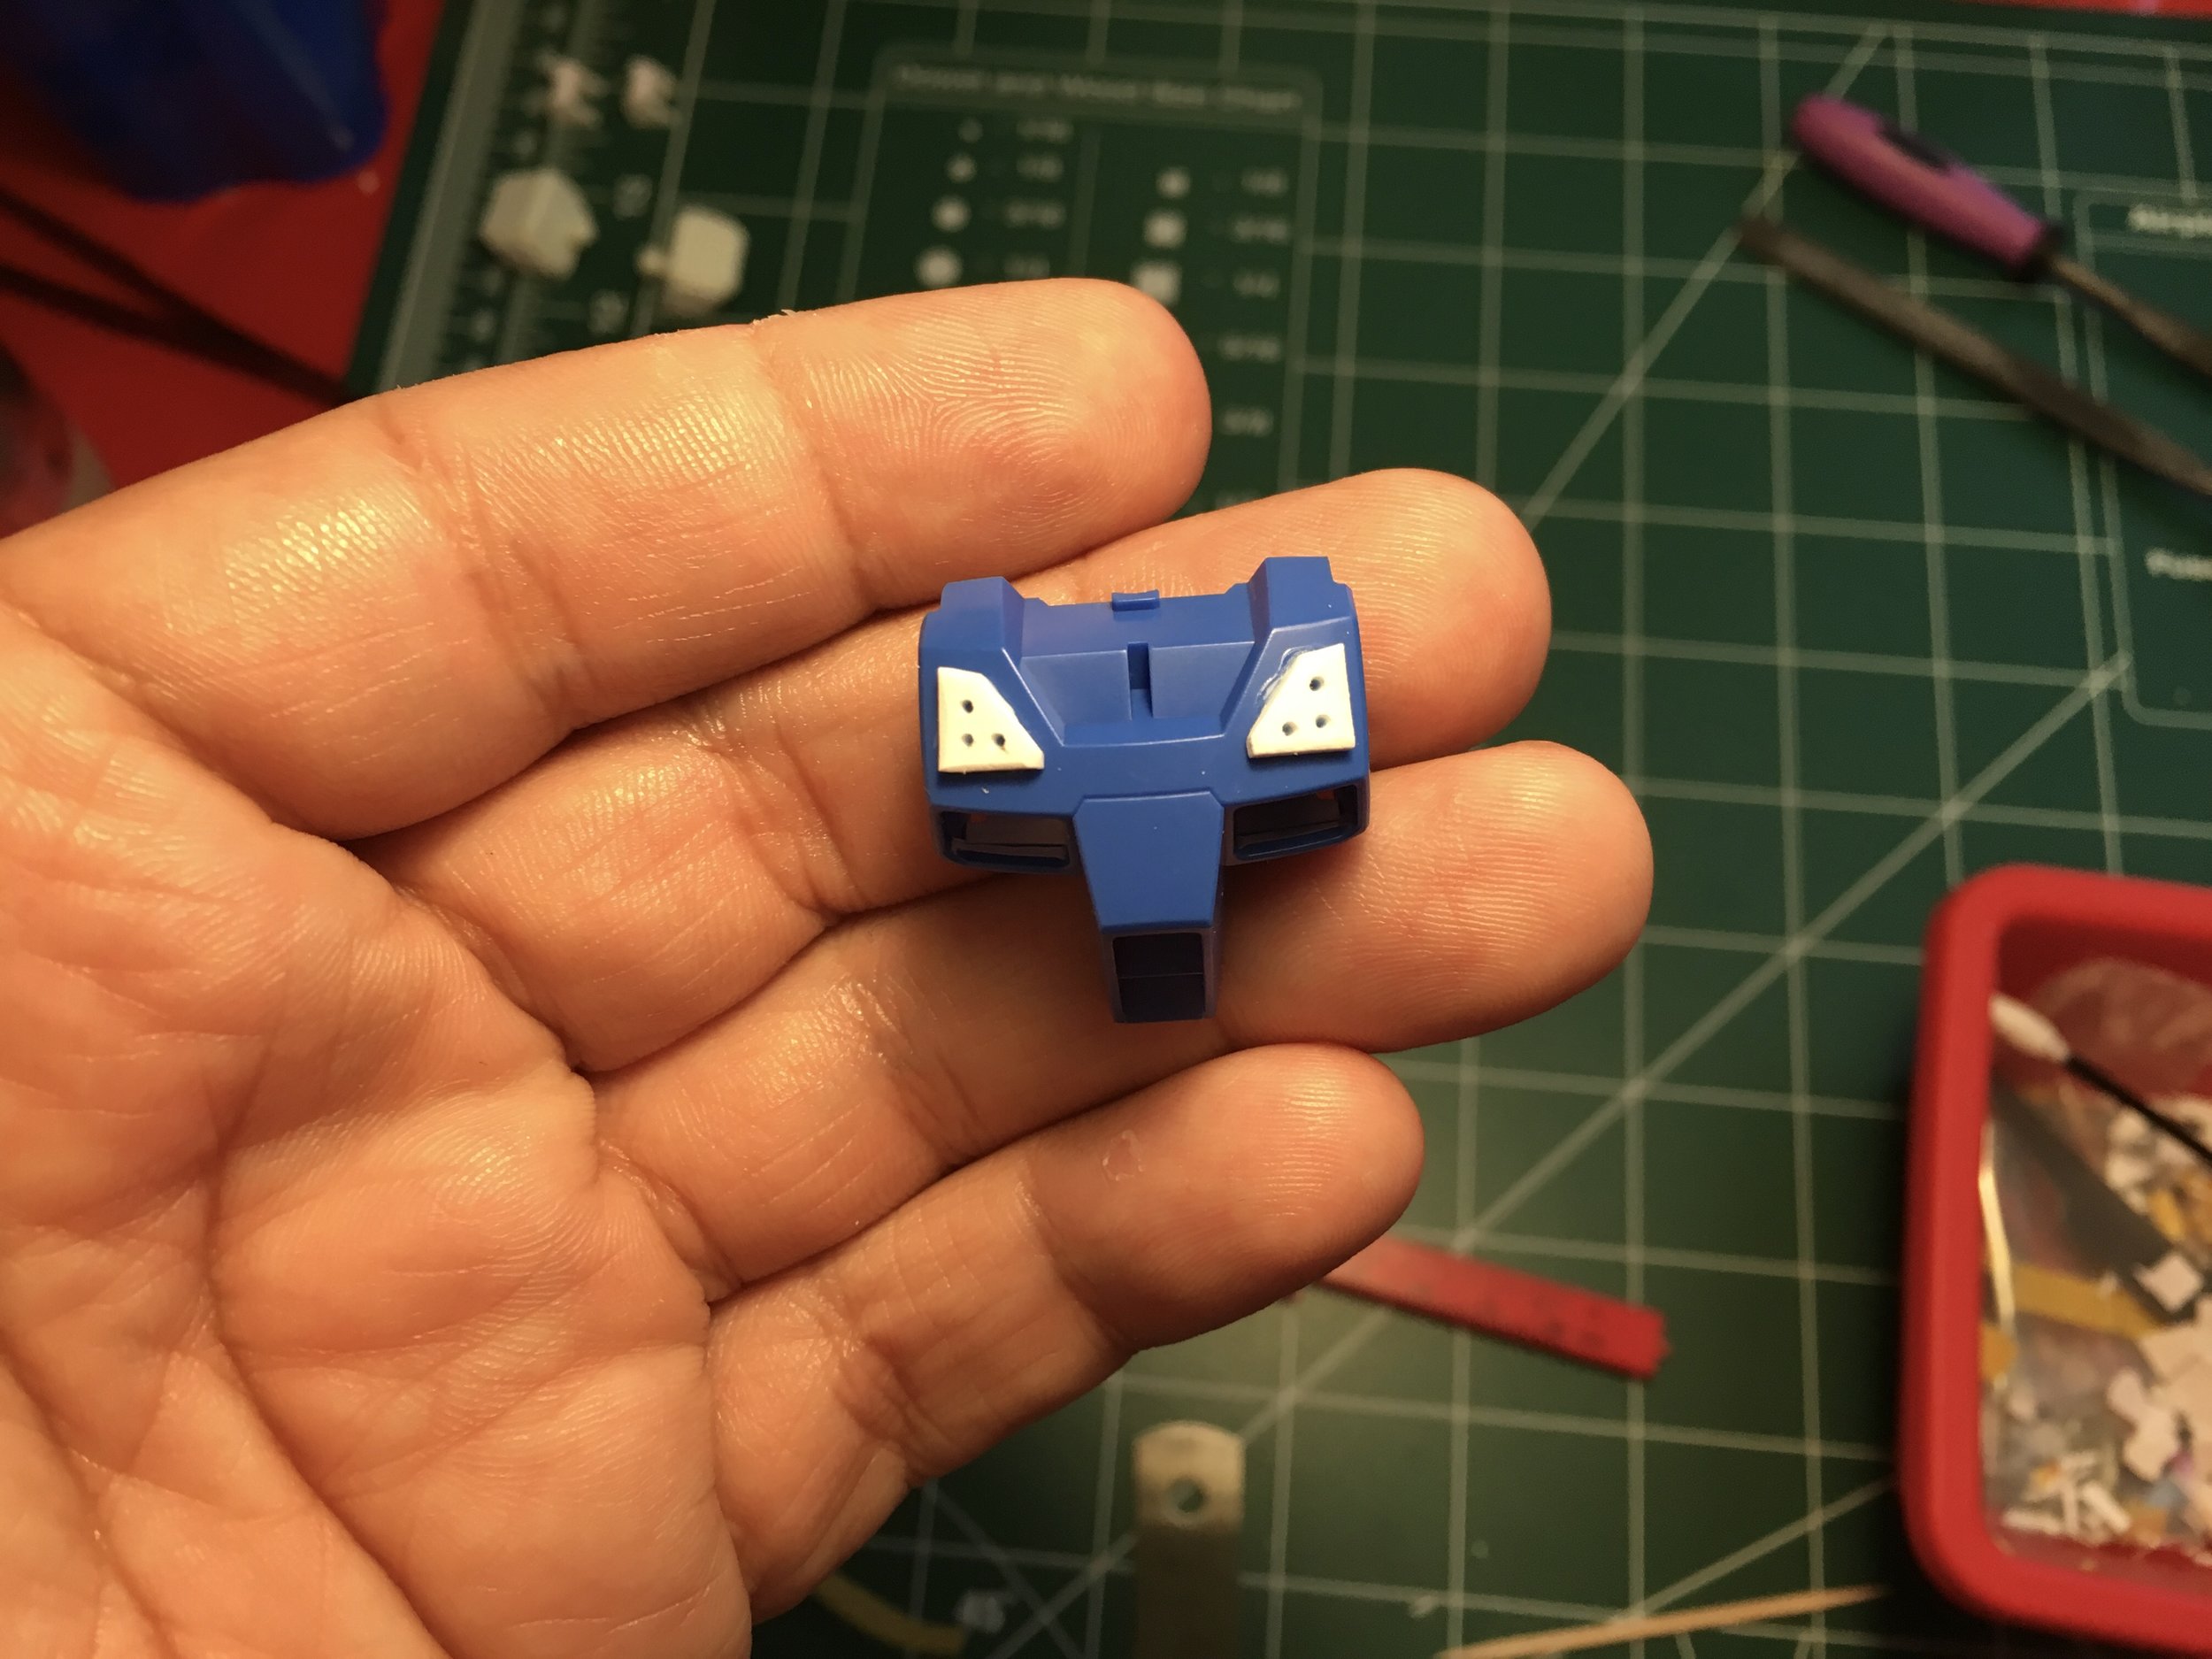
Chest armor!

Assembled for the first time! I added a fin on the chest, and the backpack and legs from the HG Amazing Red Warrior.

Primed...

First color for the digital camouflage...
Second color pooled quite a bit. It was 35F outside and I didn't realize how much the cold effected paint. After this I switched from self leveling thinner to regular thinner and mixed it with more paint; that came out much better.

Last color sprayed! I was so excited, until...

I pulled the masking off and realized the second and third colors I picked were too close to each other to contrast. This was heartbreaking! What to do???

Strip the paint and start over! Some of the parts didn't come clean, so I used my extra kits I luckily had. Back to it!

Primed again...

Fast forward to the last coat, fingers crossed!

That's more like it!!!

Time for gloss coat, decals and final top coat!

All finished and packed up for shipping! I bought some foam from Amazon and cut places for the body and parts, then put it back in the box the kit came in.
I shipped this with a new unassembled kit to my brother in-law Aaron, who is in the Air Force; hence the camo and lots of grey. I also completed a few other kits during the time I was working on this, but most of my Gunpla time was dedicated to getting this done. Next up, finished pics! Stay tuned and keep building!